Tutorial- Attaching pieces of leather- rivetting

Leather, Chain and Plate

Moderators: Enderonimus, Belegarth: Forum Moderators

Tutorial- Attaching pieces of leather- rivetting

Postby Enderonimus » Sat May 12, 2007 5:07 pm

One of the strongest and easiest ways to attach smaller pieces of leather together is through rivetting. Now, there are differed types of rivets, in differed materials from regular steel,stainless steel, and copper. For leather working there are 2 predominately used types of rivets:
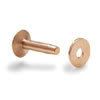
solid copper rivets with washers called burs:
Image
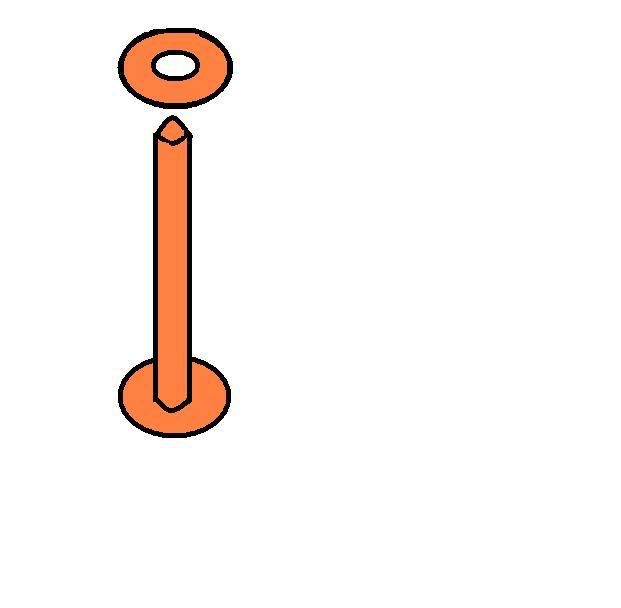
and hollow lightweight quich rivets, made mostly from thin steel, and colored brass, blackened, or nickel silver:
Image
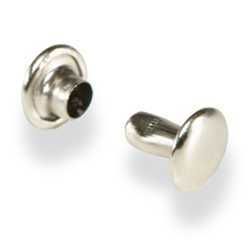
The quick rivets are used predominately in areas not directly in contact with combat,ie: fashion pieces or occasional strapping. For areas with heavy stress is implied, like areas struck in combat, the solid copper rivets are recommended for their strength.
To attach the quick rivets is very easy and fast, albeit not very strong for the piece. Steps are
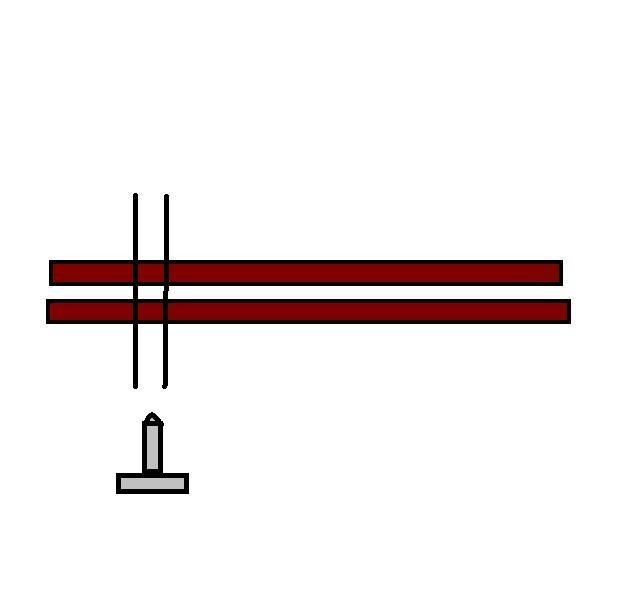
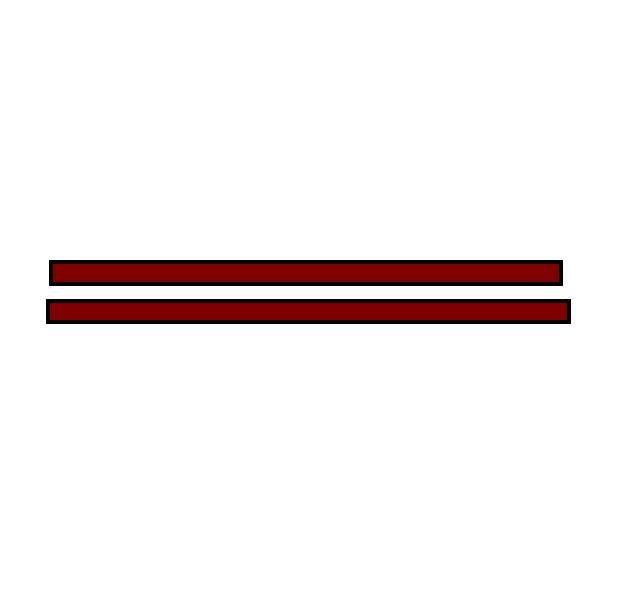
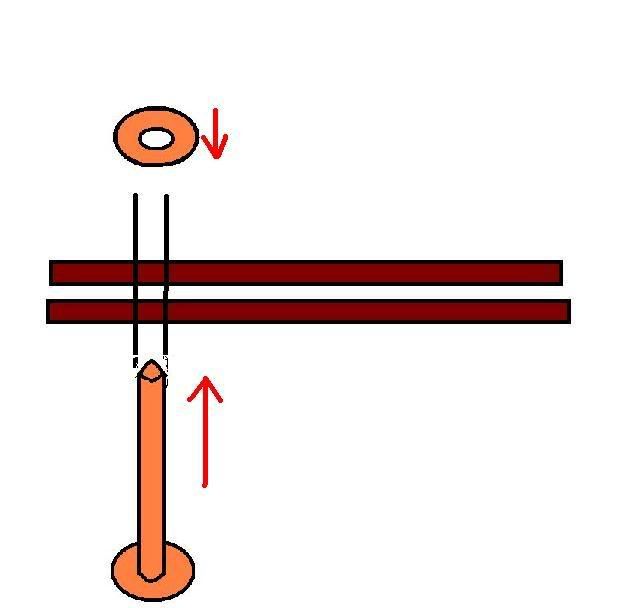
1. Feed the long neck end through the bottom of your two pieces of leather.
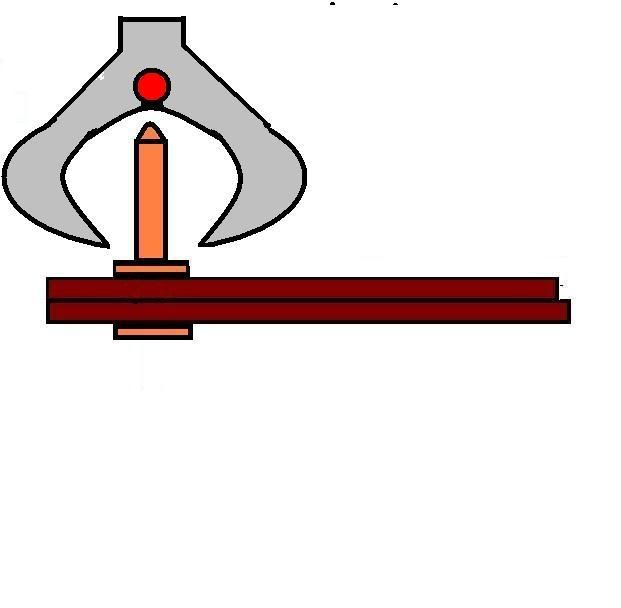
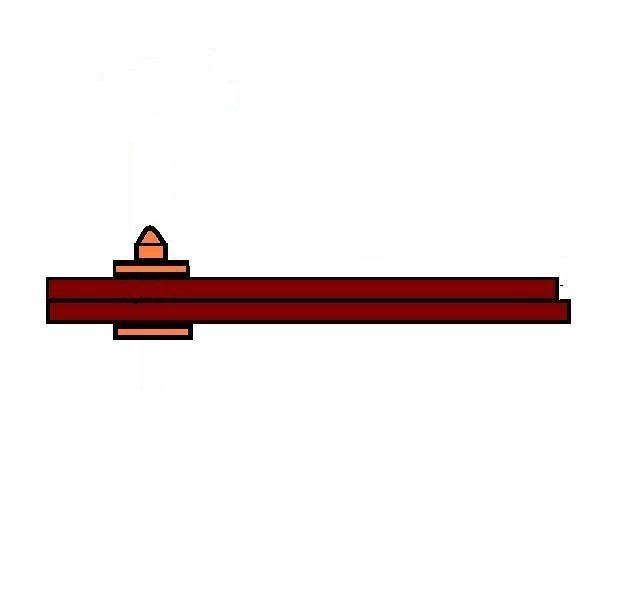
2. Cover long neck end with cap
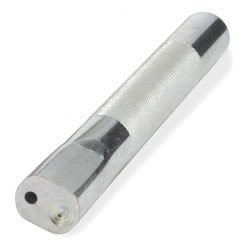
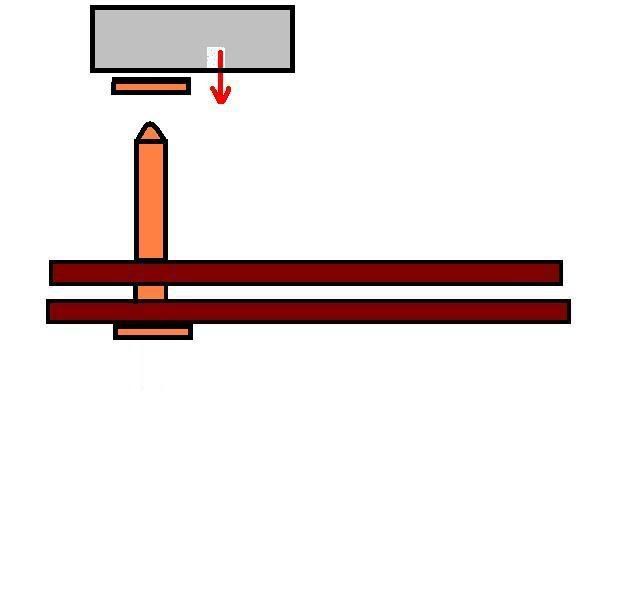
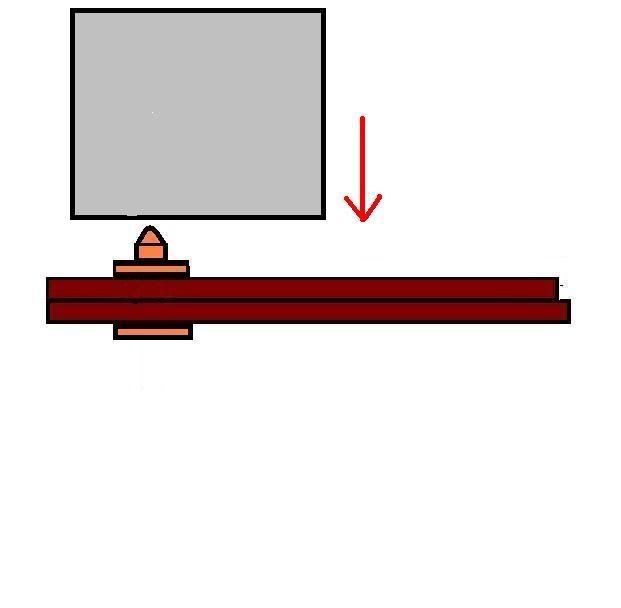
3. tap once or twice with soft wooden hammer like this one
Image
Image
Image
Image
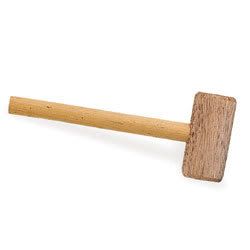
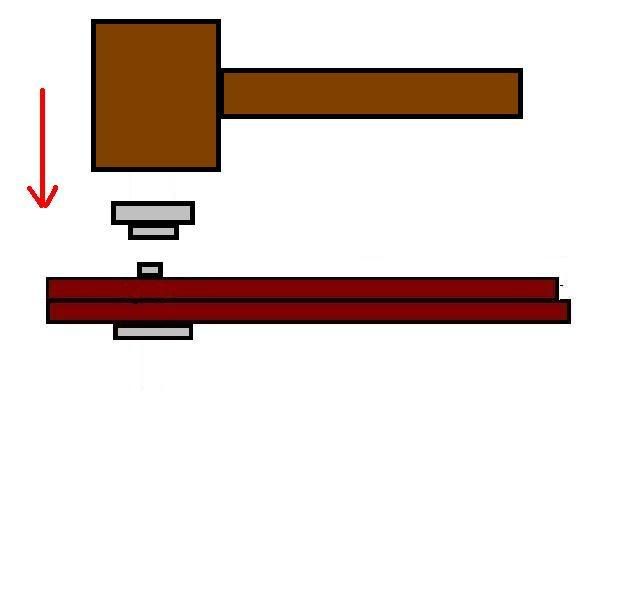
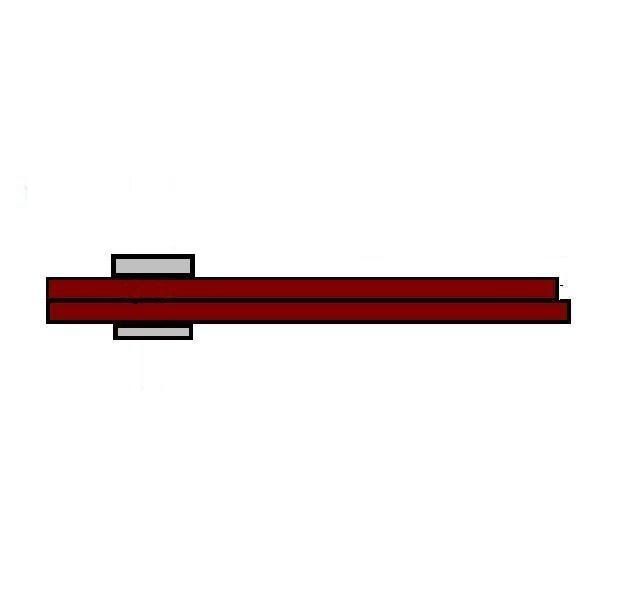
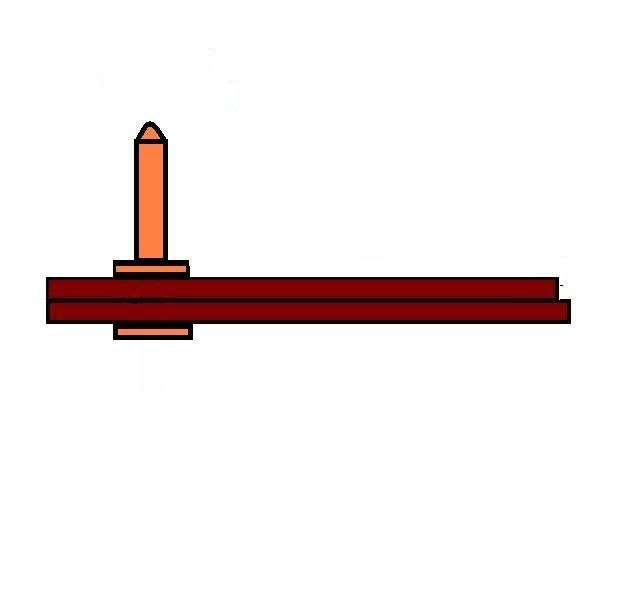
And viola, done! Quick and easy as they are called, just do not expect them to withstand much stress!

To rivet the copper shank rivets is a more complicated process, requiring a few more tools and patience, but the reward is strength and support in the piece.
1. Tools needed-
-of course, copper rivets and washer burs
-Solid steel hammer, a standard cheap clawhammer works fine
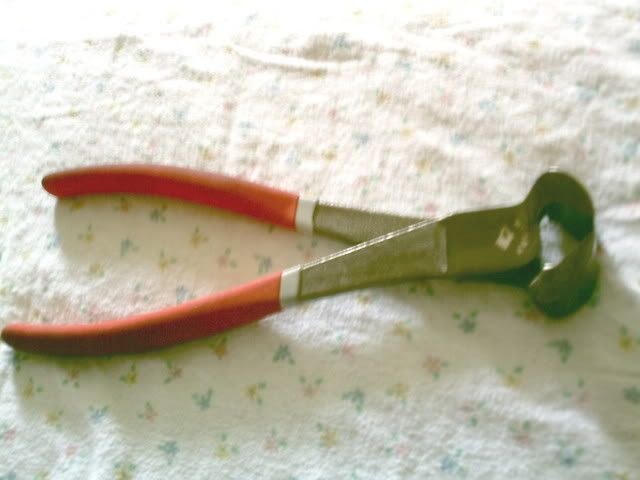
-bolt snips,available at any hardware store. I bought mine at Home Depot for $7.
Image
- rivet setter, a more speciality tool, usually only avaiable at Leather working stores, with 2 holes, one long tunnel for pushing washers down the shank, and one bowlish pit for rounding of the sharp tip of the rivet. I got mine at Tandyleatherfactory for about $5
Image
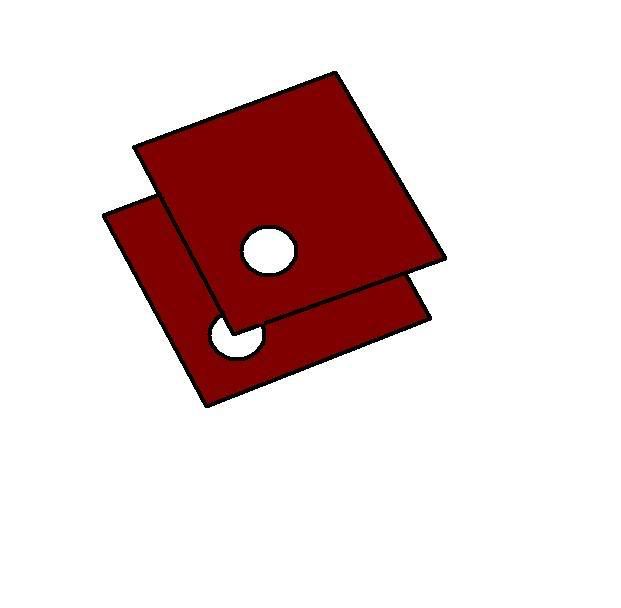
2. Drill holes in leather of course, making sure they match up and are ready to be attached:
Image
Image
Image
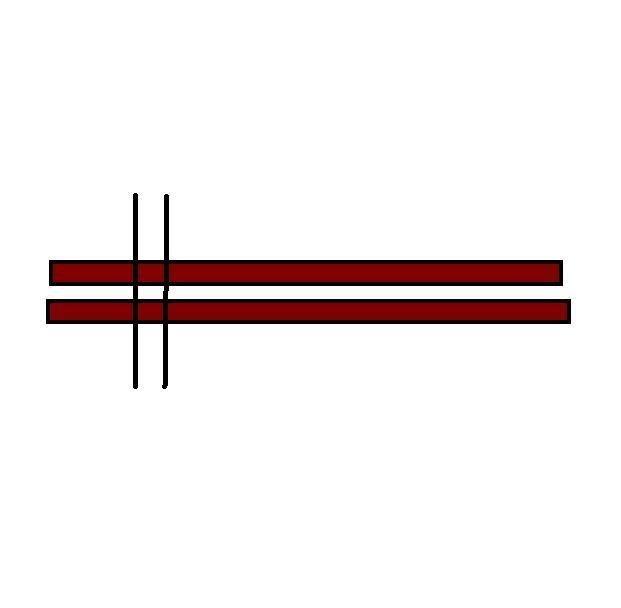
3. Feed the rivet through the bottom layer of layer, matching up through holes and fed completley through:
Image
Image
4. Place the bur on the tip of the rivet shank and with the hammer strike the washer down over the shank through the tunnel hole on the setter:
Image
Image
5. Use your bolt snips to cut off the most available neck of the rivet sticking from the surface of the leather:
Image
Image
6. Use the small round dimple hole on the setter to round off the tip of the rivet which was sharpened by the bolt cutting:
Image
Image
7. Use the flat of your clawhammer to strike once or twice lightly on the domed rivet tip to round of finished rivet:
Image
Image
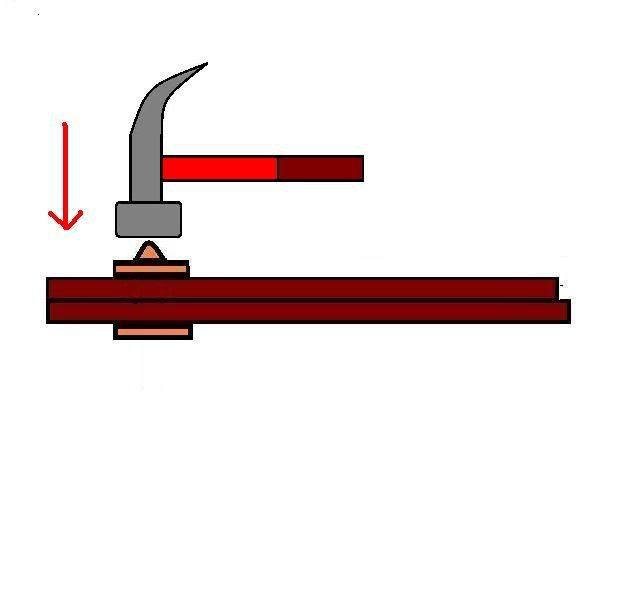
And viola, copper rivet complete with strength and safety rounded tip.
Rivetting is an essential task in most leather pieces, although not all, and can really help in the develoupment of your individual unique piece.

Good luck with all your projects and remember patience pays in the end with a work of art you will be proud of!
Last edited by Enderonimus on Mon May 14, 2007 4:04 am, edited 3 times in total.
Enderonimus
Brute
Brute
 
Posts: 533
Joined: Sat Oct 25, 2003 8:50 pm
Started Fighting: 06 Jan 2005

Postby Karne » Sat May 12, 2007 6:04 pm

Ender again, I'm not sure I can express my gratitude in type. Suffice it to say that if I ever bump into you anywhere than cyberspace, your gettin' a bear hug!!!!

Thanks so much dude, that completly answered my questions regarding rivets!!!!!!!!
I don't give a **** if there's an h in wispering.
User avatar
Karne
Monkey
Monkey
 
Posts: 182
Joined: Tue Jan 30, 2007 10:40 pm
Location: Empire of The Iron Mountains, Desert Rose

Postby Vak » Sat May 12, 2007 9:19 pm

Ender, you have earned cookies. If we meet up at an event find me and I will grant you cookies.
Knight of Morva, Sir Vak Hellhammer
User avatar
Vak
Thug
Thug
 
Posts: 447
Joined: Wed Jun 07, 2006 9:23 pm
Location: Chicago
Started Fighting: 0- 4-2006
Realm: Chicago Esgaroth
Unit: Hellhammer
Favorite Fighting Styles: Sword and Board, Red Sword

Postby Karne » Sun May 13, 2007 12:44 am

Question. What is the primary force that holds the rivet in place? I'd always assumed that when you peened the rivet that smashing the head over the bur was what kept it there. But after looking at your tut, Ender, it looks to me as though it's more the tension between the post and the burr after you set it.

Right? Wrong? Otherwise. I'm just afraid that if I don't beat the rivet to death that it'll pop out...Thanks again!
I don't give a **** if there's an h in wispering.
User avatar
Karne
Monkey
Monkey
 
Posts: 182
Joined: Tue Jan 30, 2007 10:40 pm
Location: Empire of The Iron Mountains, Desert Rose

Postby Enderonimus » Sun May 13, 2007 6:00 am

Thanks you guys vey much, I hope i helped enlighten and help us all along the way to making our great armors.

To answer your question, Deth,The inside diameter of the burs actually for the copper rivets is laser cut a few thousands of an inch too small. That is the reason why no matter how hard you try, you can barely force the bur down the shank of the copper rivet far at all. The setter forces the bur the length of the shank, which in itself is almost enough to hold it in place. when you snip the rivet shorter it relieves some of that tension, but then dome-ing the snipped head with the setter returns that tight fit with the bur. The final hammer strike closes any microscopic gaps in that tension along the small remaining shaft of the rivet, and the overlapping edge of the dome top seals it all and gaurantees the tension will not release. It's the same when we use steel and bass rivets working with metal armor, but there is a lot more hammering involved, to spread that rivet and then overlap the edge into that nice mushroom shape. There is a different process altogether if you're using rivets in articulating armor, you dont want that tight tension. You want the rivet to just mushroom over on the top but keep that loose fit throughout the shank.
So in short, yes, you are right, it is the tension along the shank that keeps the rivet tight, but it is the mushroom top which seals it and gaurantees that tension.
Hope that helped some.
Good luck!
Enderonimus
Brute
Brute
 
Posts: 533
Joined: Sat Oct 25, 2003 8:50 pm
Started Fighting: 06 Jan 2005

Postby Xenoc » Sun May 13, 2007 12:52 pm

All these tutorials should be stickied for newcomers so we don't have to give them the link or anything like that.
User avatar
Xenoc
Barbarian
Barbarian
 
Posts: 383
Joined: Sun Oct 22, 2006 10:51 pm

Postby Karne » Sun May 13, 2007 12:59 pm

I agree. And thanks alot Ender, that totally answered my question! I was thinking that they were like hot rivets in that you had to mushroom them completly....But that's not the case! Thanks alot man!!!

Cookies and a bear hug for Ender!
I don't give a **** if there's an h in wispering.
User avatar
Karne
Monkey
Monkey
 
Posts: 182
Joined: Tue Jan 30, 2007 10:40 pm
Location: Empire of The Iron Mountains, Desert Rose

Postby Dabbanoth » Fri Jul 06, 2007 9:45 pm

Sticky
God Squad
Bill Collector.
Expose-A-Fraud Squad.
User avatar
Dabbanoth
The Smoking Gun
 
Posts: 3611
Joined: Mon May 29, 2006 10:45 am
Location: Wild Wild West.
Started Fighting: 09 Aug 2057
Realm: Rugged
Unit: Divine Guardian of the Laser Kingdom
Favorite Fighting Styles: Bic.

Postby Enderonimus » Fri Jul 06, 2007 10:03 pm

Done. Thank you,Dag.
Enderonimus
Brute
Brute
 
Posts: 533
Joined: Sat Oct 25, 2003 8:50 pm
Started Fighting: 06 Jan 2005

Postby Solusar » Tue Jan 22, 2008 7:12 pm

Shouldn't awesome things like this be stickied?
Squire Solusar Oma'Ragh McFeelgood, the Usurper
Squire to Sir Rune of Mittlemarch
I fight Dagorhir, but I'm still cool somehow.
User avatar
Solusar
Hero
Hero
 
Posts: 1580
Joined: Wed Nov 08, 2006 8:10 pm
Location: Philly, PA
Started Fighting: 01 Sep 2001
Favorite Fighting Styles: Sword and board, Red, Red +back shield,

Postby Atari » Wed Jan 23, 2008 2:50 pm

Ender never ceases to amaze me. Does he have his website up I wonder?
SAHS

"Lead me, follow me, or get out of my way."
-General George Patton
"The 9mm is a .45 set on 'stun'"
-Unknown
User avatar
Atari
Scout
Scout
 
Posts: 292
Joined: Sun Apr 29, 2007 9:59 pm
Location: Andor
Started Fighting: 14 Jul 2005
Realm: Andor
Favorite Fighting Styles: Sword and Board, Bow and Arrow

Re: Tutorial- Attaching pieces of leather- rivetting

Postby OldSmoke » Fri Jun 20, 2008 5:30 pm

Would using a rivet gun be easier? I'm a carpenter and have had to fix my leather tool pouch a couple times and just used that. Once done, it has never moved.

This is a similar version of what I use. Mine is a great deal older though.

Image
Smoke of Dunharrow
Guardsman of House Dregoth
Everything's better in HD!
User avatar
OldSmoke
Underling
Underling
 
Posts: 93
Joined: Sat Jun 14, 2008 11:40 pm
Started Fighting: 0- 0-2000
Realm: Dunharrow
Unit: House Dregoth

Re: Tutorial- Attaching pieces of leather- rivetting

Postby Dacian » Sat Jun 21, 2008 12:18 am

I used a rivet gun similar to that. It's used for pop rivets, which are actually rather different than the copper rivets above. They don't hold up too well, and are moreso for holding thin metal together, or some thin leather projects as a makeshift fastener.

It sounds like it would work at first, but trust me, go with the copper rivets, it's the best thing for any armor projects.
Kyulick Division of the War Machine
Image

Tiercel wrote:Sometimes I stay on my knees for so long, I forget, and have to leave them both down.
User avatar
Dacian
Slayer
Slayer
 
Posts: 1122
Joined: Mon Mar 13, 2006 9:38 am
Location: K-Town, mofo's
Started Fighting: 0- 6-1997
Realm: Khatovar
Unit: Kyulicks
Favorite Fighting Styles: Thunder and Lightening.

Re: Tutorial- Attaching pieces of leather- rivetting

Postby Claymore » Sat Jun 21, 2008 1:26 am

The best rivits for the pop rivit gun would be the two part rivits used for a finished look. they hold better because the back is secured better and the top has a finished look.

However, they're a little harder to find. I've heard some people say they've found them at tandy, but Ive never seen them there.

Squire Dacian is right though, copper rivits provide the strongest hold, especially the #9 rivits. However, this also makes them a more permanet attachment and can be a pain to remove should you need to matenience the armor.
Those who would sacrifice liberty for temporary safety deserve neither liberty nor safety.
-Benjamin Franklin

“To be yourself in a world that is constantly trying to make you something else is the greatest accomplishment.”
-Ralph Waldo Emerson
User avatar
Claymore
Backstabber
Backstabber
 
Posts: 300
Joined: Sat Feb 02, 2008 8:56 pm
Location: Wisconsin
Favorite Fighting Styles: English and Itailian longsword
German Flamberge

Re: Tutorial- Attaching pieces of leather- rivetting

Postby debuenzo » Thu Jul 24, 2008 12:24 am

how can you remove the copper rivet and burr if you make a mistake or your armor needs repair?
Brother of the Black Company
User avatar
debuenzo
Hero
Hero
 
Posts: 1497
Joined: Thu Mar 31, 2005 8:03 pm
Location: Numenor
Started Fighting: 30 Aug 2003
Realm: Numenor
Unit: Black Company
Favorite Fighting Styles: sword and shield

Re: Tutorial- Attaching pieces of leather- rivetting

Postby Claymore » Thu Jul 24, 2008 4:49 am

I end up grinding and drilling them out. You could try squeezing a blade between the washer and leather and try to pry it, but every time I do that it dammages the leather.
Those who would sacrifice liberty for temporary safety deserve neither liberty nor safety.
-Benjamin Franklin

“To be yourself in a world that is constantly trying to make you something else is the greatest accomplishment.”
-Ralph Waldo Emerson
User avatar
Claymore
Backstabber
Backstabber
 
Posts: 300
Joined: Sat Feb 02, 2008 8:56 pm
Location: Wisconsin
Favorite Fighting Styles: English and Itailian longsword
German Flamberge


Return to The Armory

Who is online

Users browsing this forum: No registered users and 11 guests