However, with a few tricks you can achieve very similar results in a fraction of the time and with no costly tools involved.
List of materials:
-Leather (12 oz was used for this tutorial but you can use up to 5-7 oz).
-Water bottle (try to get one with a spray head).
-Pencil (rounded tip, draw a few circles after sharpening to blunt the tip).
-Blunt tool (check embossing tools, width depends on the line thickness of your design. If you are unable to get a tool, use an old ink-less ballpoint pen or a small knitting needle).
-Heat gun (Hobby ones work best and are usually under $25. Hairdryers won't work).
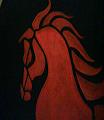
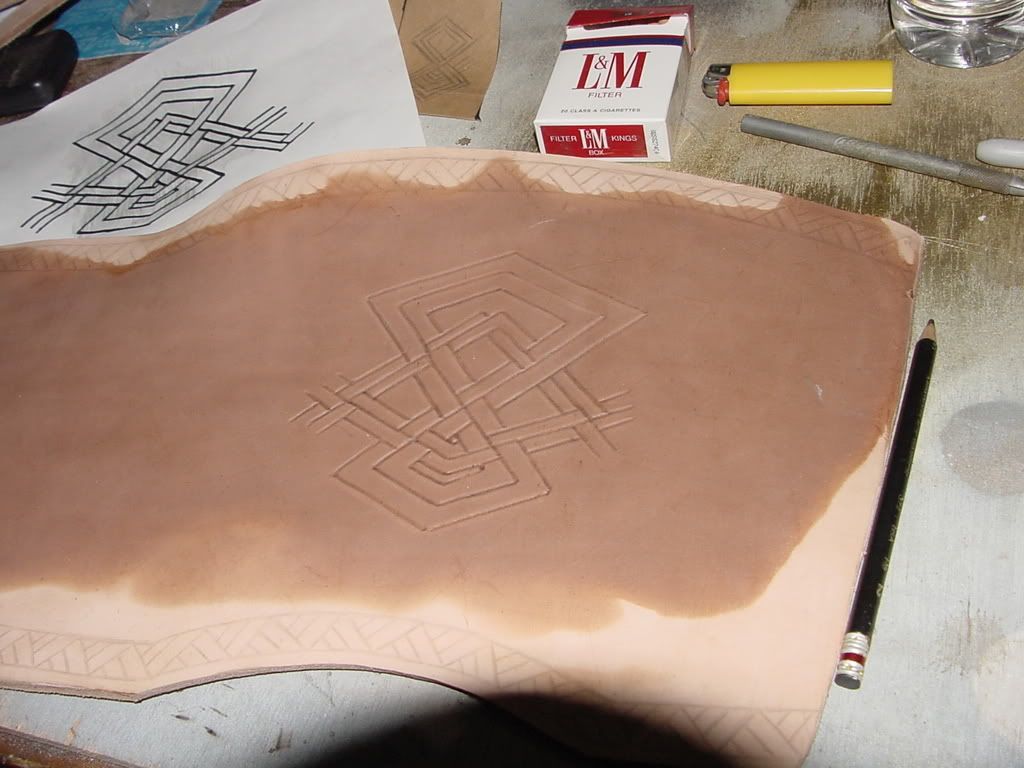
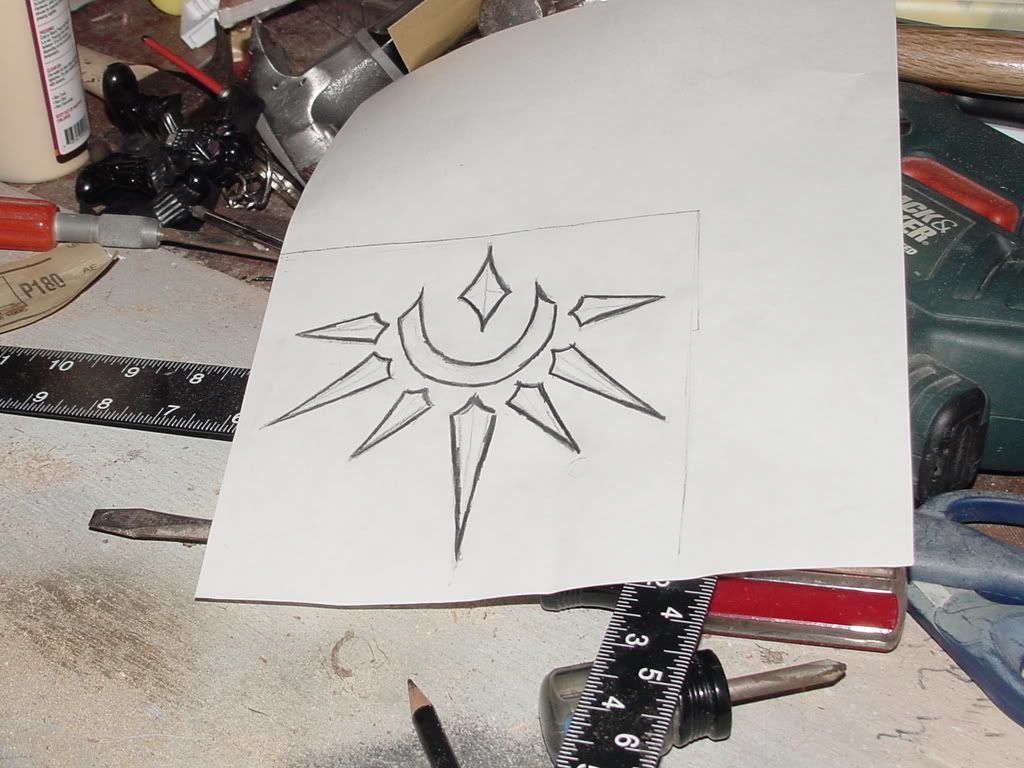
First step is getting your design done. Once you are happy with a design, print it and fit it into the pre-cut piece of leather (always do the tooling after you have the pieces cut).
Make sure it would fit nicely on the piece.
If you are using a repeat pattern, make a few photocopies of your design so you have spares.
With design in hand, we proceed to prepare the leather for the tooling. This is called "camping".
Turn the leather so the rough side is facing up, start adding water slowly. You will notice that the leather will suck the water quite fast.
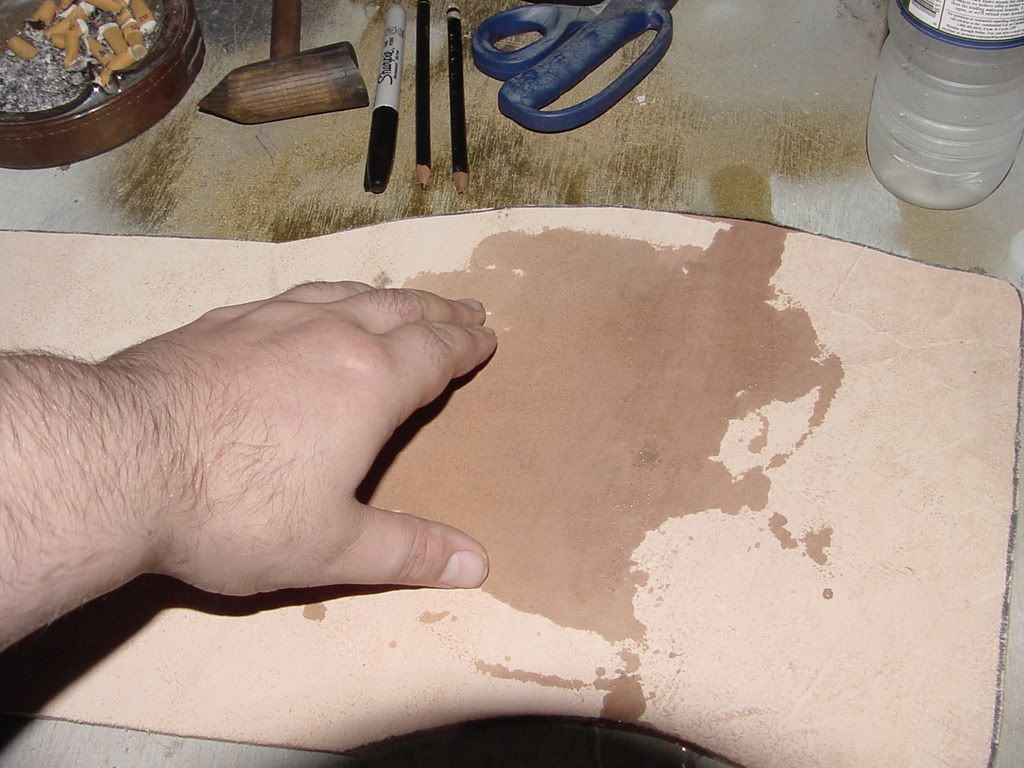
Keep adding water until you see excess starting to form. Make sure to cover the entire surface as evenly as you can.
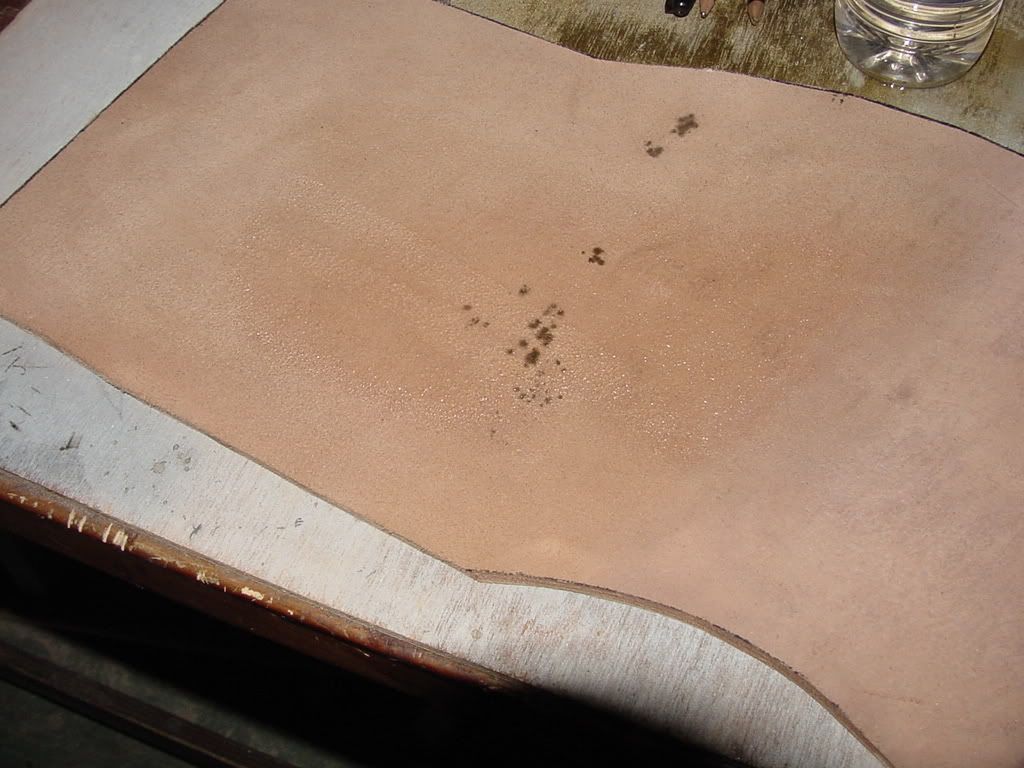
Wipe the excess with a towel or rag, don't scrub hard simply tap until the excess is gone.
Turn the leather around and use the towel/rag you used to wipe the excess and rub the smooth side to damp it evenly. Don't add more water to the front. If the water soaked all the way through from the back, even it out with the towel/rag. Let the leather dry for about 10 minutes.
After that, start transferring (or drawing directly) your pattern on the leather using the pencil. Don't apply too much pressure, in case you need to make a correction.
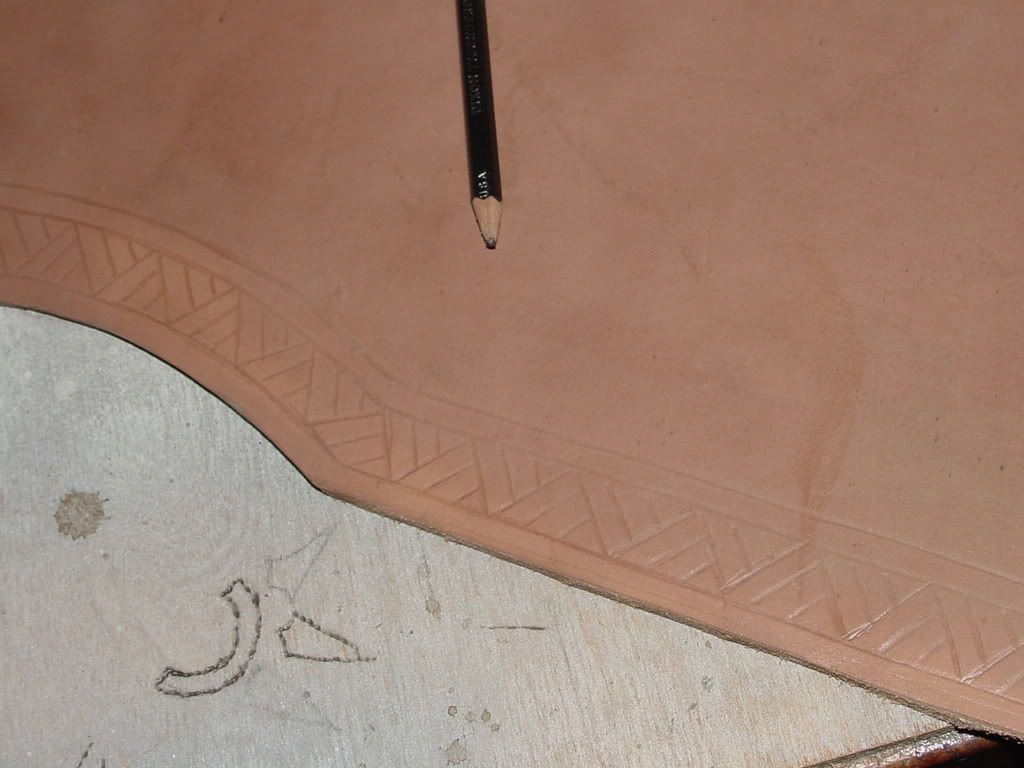
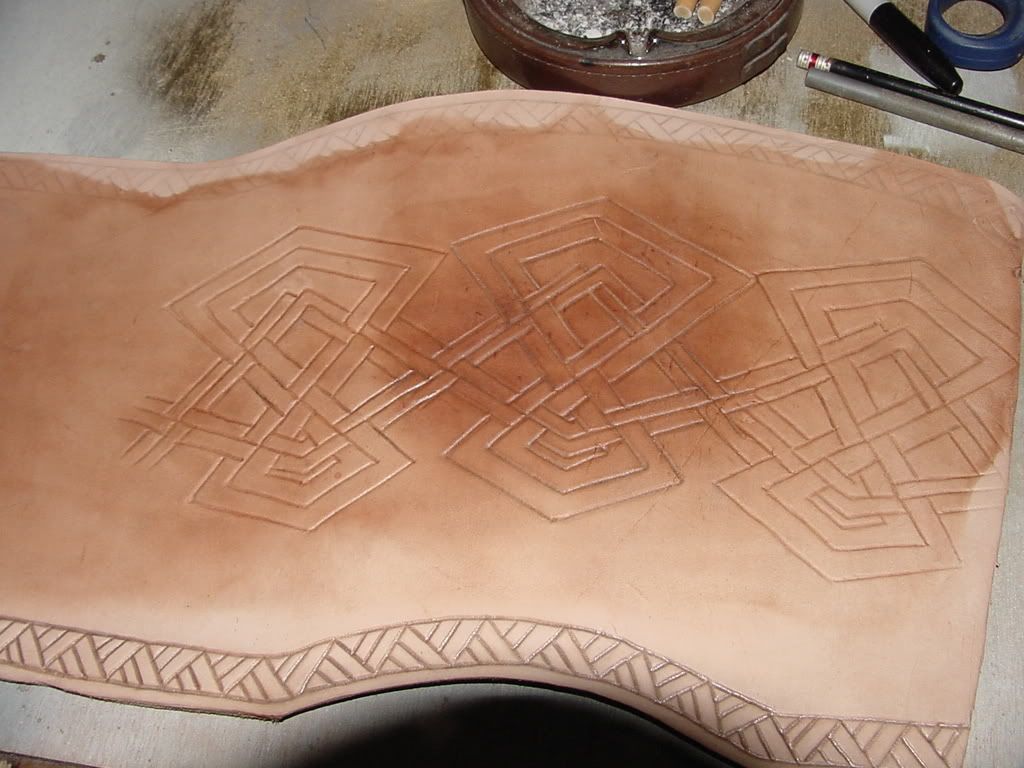
If your pattern has several sections (borders, designs, etc..) work one section at a time. You can always add more water if needed using your damp towel/rag.
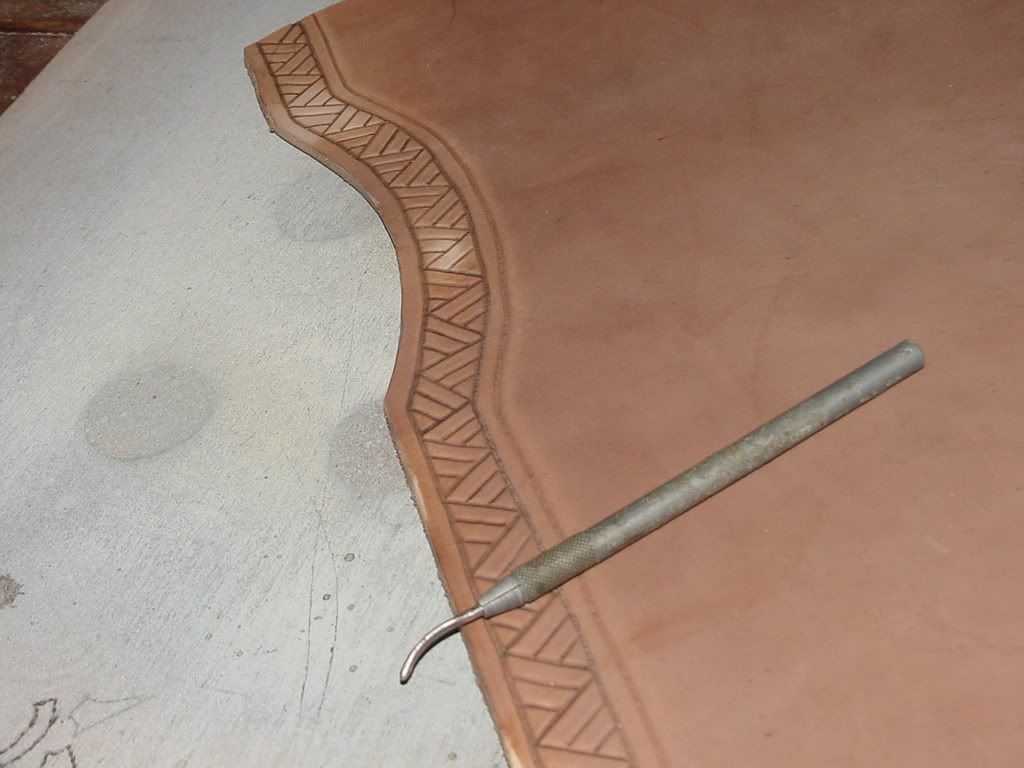
Once your pattern is transferred, grab your blunt tool and with even pressure start following the lines.
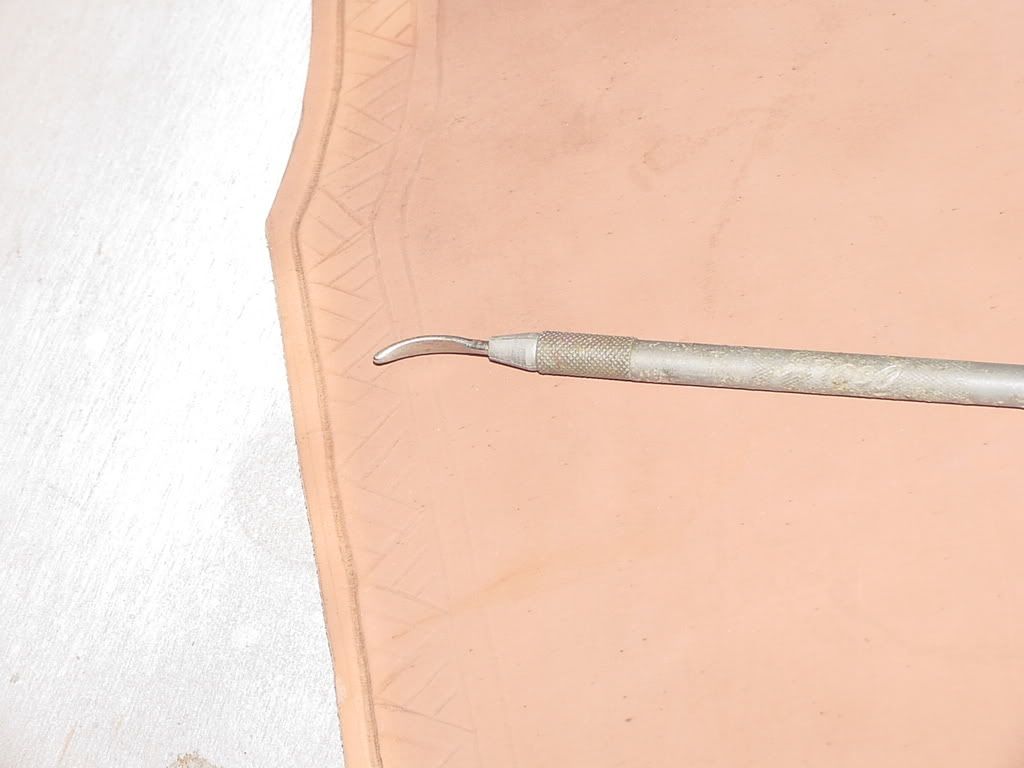
If you see too much water coming out of the lines when you press with the blunt tool, you may need to let the leather dry a bit more before continuing.
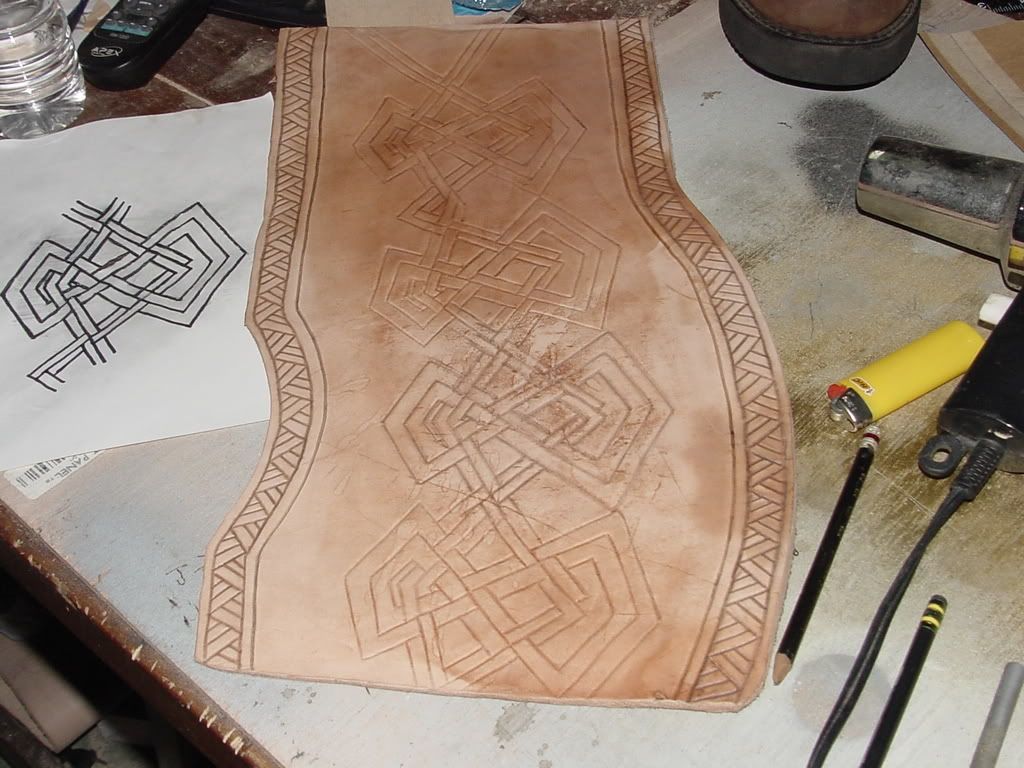
To transfer a printed design, simply lay the paper on top of the camped leather and follow the lines with your pencil. Do remember, don't apply too much pressure.
To make a continuous pattern, simply move your printed design and align it with the next. Start with the corners to make sure they match
Finally, the most important step. If you were to let the leather dry as it is, your pattern would "pop out". You would still be able to see it, but it would be faint. To work around this, once you are done with ALL your design, grab your heat gun and dry the leather from behind (the rough side) completely.
IMPORTANT: If you don't have a heat gun, you can use the oven in your kitchen. Pre-heat the oven before you start tooling. Once you are done, pop the piece inside the hot oven so it dries fast. KEEP AN EYE ON IT. Do not walk away from it, the difference between dry and burnt is but a few seconds. Check the piece often so you can pull it out immediately after dry.
As you get the leather nearly 100% dry, you will reach the point where you can shape it freely. Take advantage of this to shape your piece and let it stand for a few hours before applying the dye.

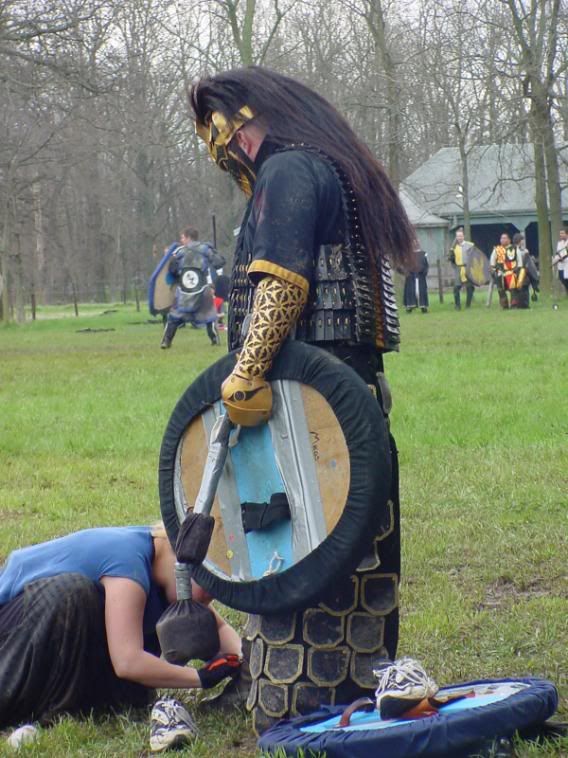
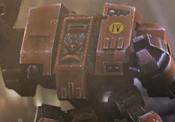
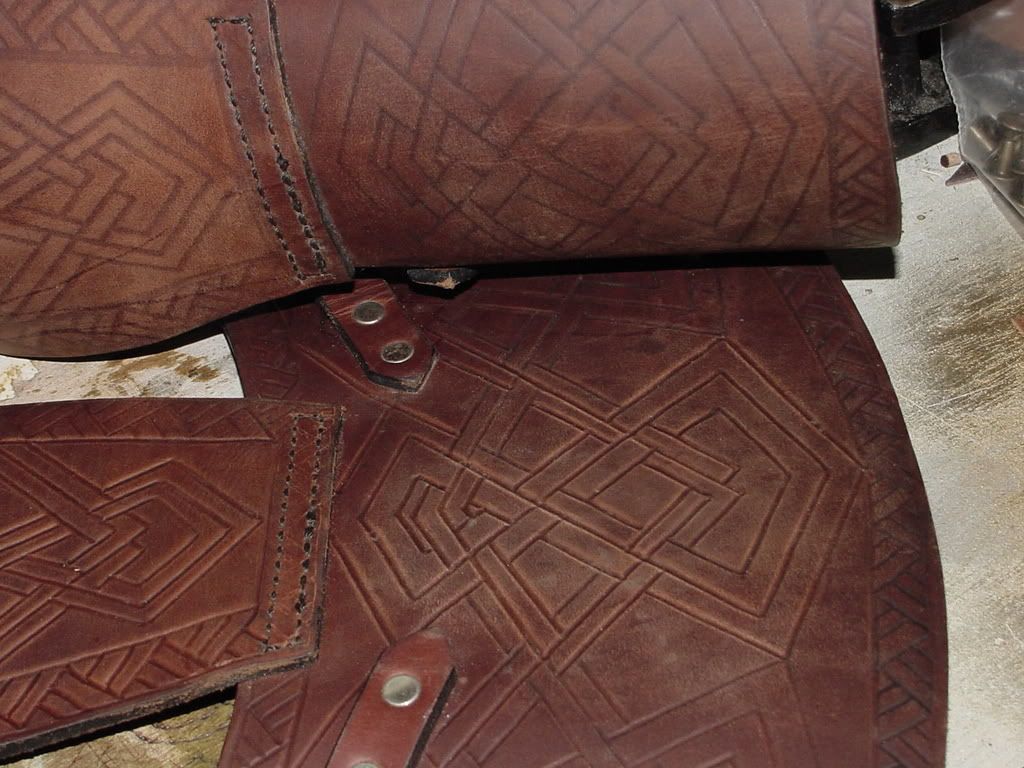
If you have a piece of armor that has not been hardened, you can also tool it.
For example, I bought these bracers but the design on them was very faint. I went around and re-tooled them with this process.
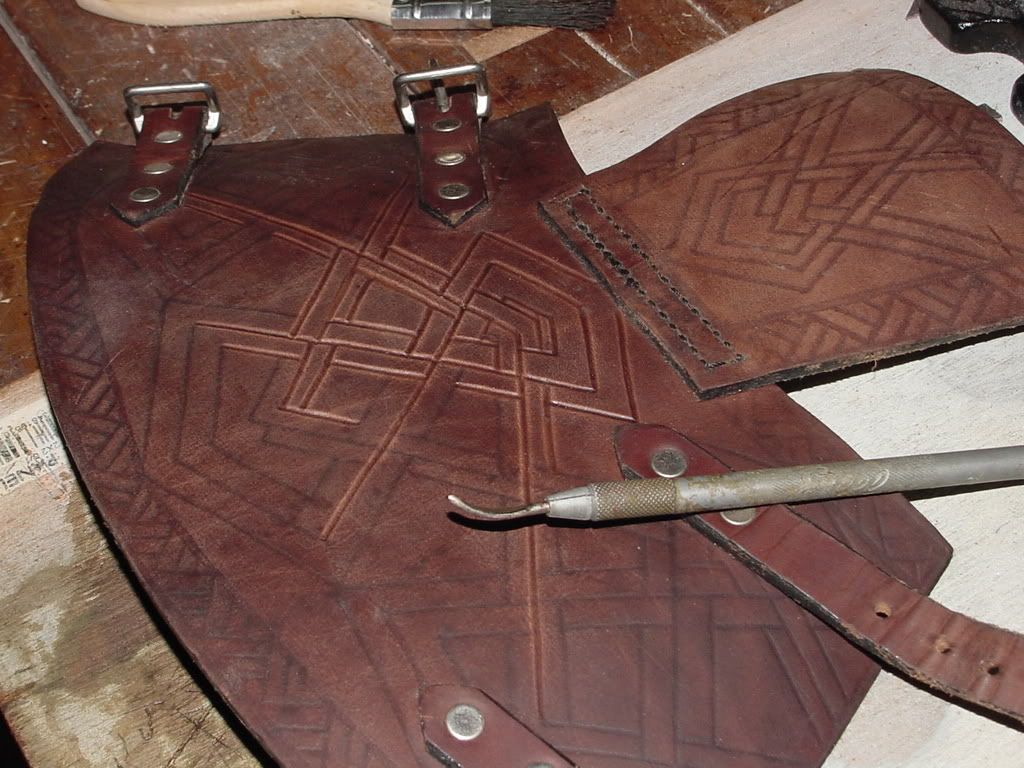
You can see the differences quite well here:
If you have an already hardened piece of armor, this technique will most probably not work but there is another technique that may help you.
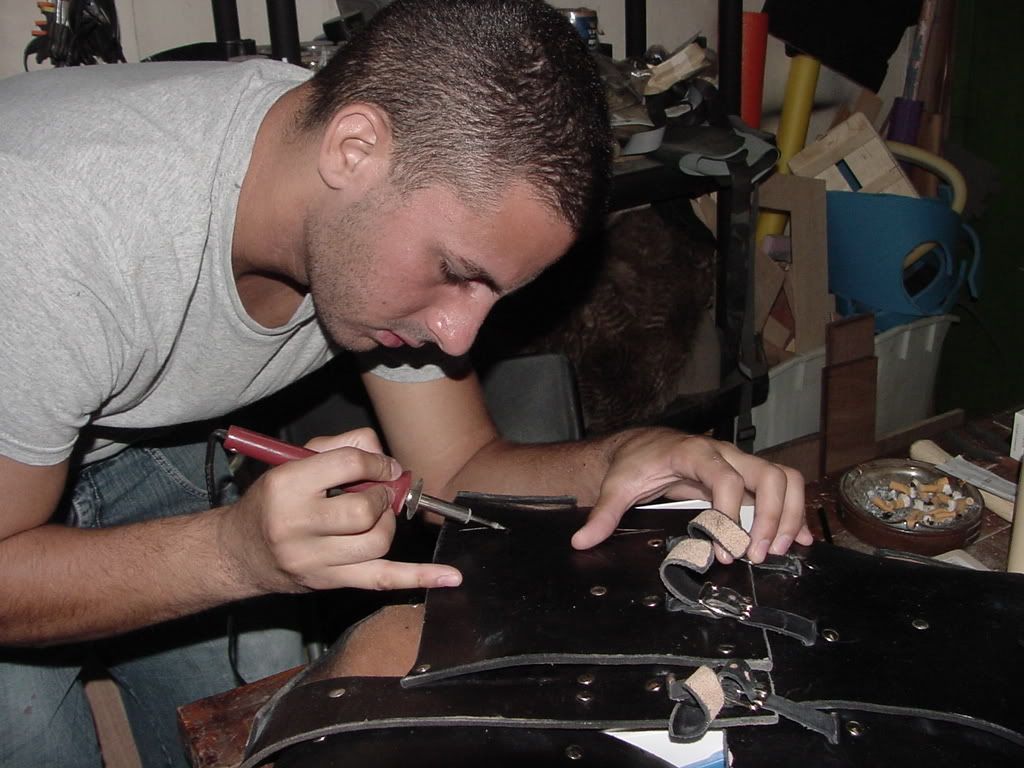
You will need a soldering tip tool (usually quite cheap) or a wood burning tool (the advantage being that you can buy different shape tips)
This is called branding.
Wet the leather as much as you can from both sides and wipe the excess off. Do not let it dry too much.
Transfer your design to the piece you want to use with the pencil. Make sure you have good illumination. Pencil lines are hard to spot on pre-dyed leather.
Next step requires patience and a very steady hand. Try drawing a bit on a spare piece of wood before doing the leather so you get the feel of it.
Point the tip in a diagonal angle and burn the lines one by one. Try to make it in one single pass so you get clean lines.
Finally, the complete branded design
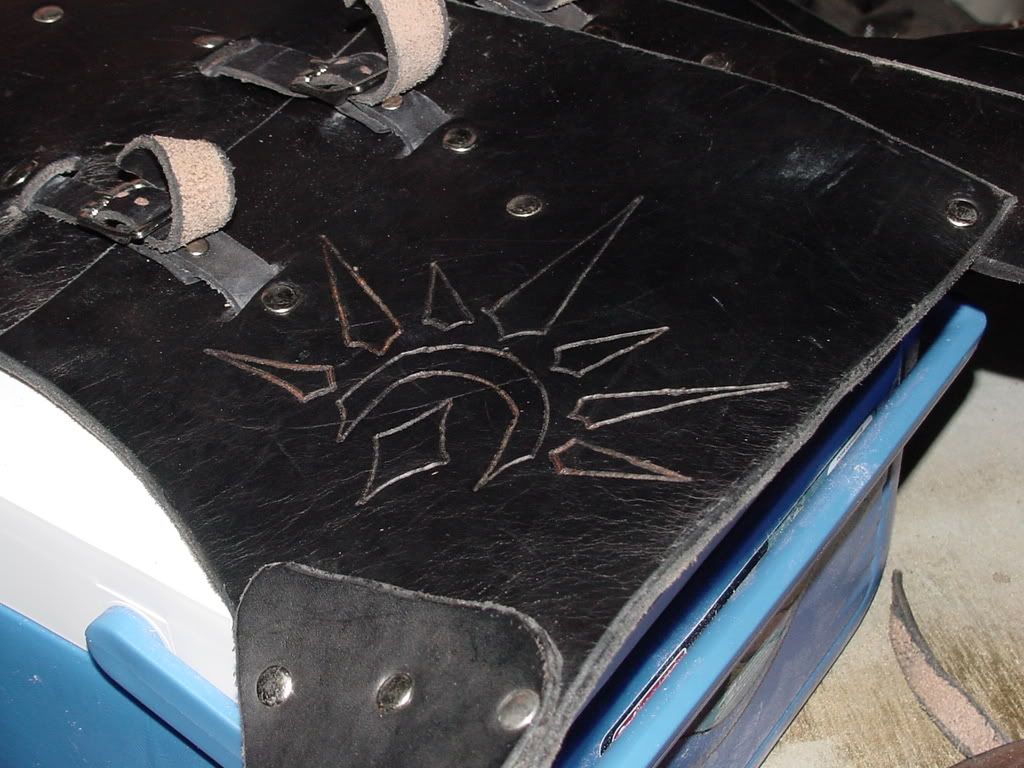
If you want deeper lines, go for a second pass.
You can even combine both techniques to get more complex results.
Remember that you can do any design, but for more complex images try using a thinner tip for the embossing.
Don't get discouraged if your first attempt is not 100%. If you are afraid of messing your armor, buy a few leather scraps to practice on, just make sure they are of similar thickness as the piece you want to tool.
If you have further questions, please feel free to ask.
Hope it helps!