Step 1: We chose a 6ft bandshop pole that we cut down slightly to about 5'1/2 ft. I am only 5'8 myself and did not want a sword taller than I. We prepped the core by sanding and capping it with a circle of leather followed by a circle of yoga mat.
Step 2: We then purchased the puzzle floor mats from harbor freight and made a box around the core as such.
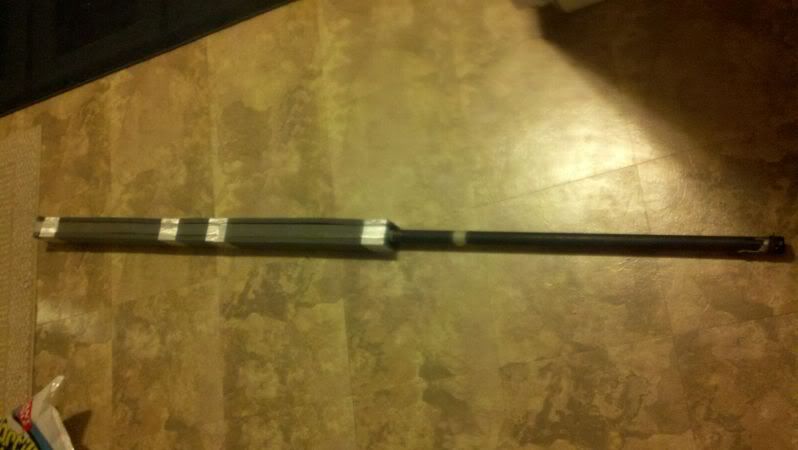
Step 3: We had 2 redsword fryes purchased from Edhellen we cut out the center routed layer leaving 3 layers on the frye and attached it to the box. (Decorative bottom part was made from leftover sword frye if wandering)

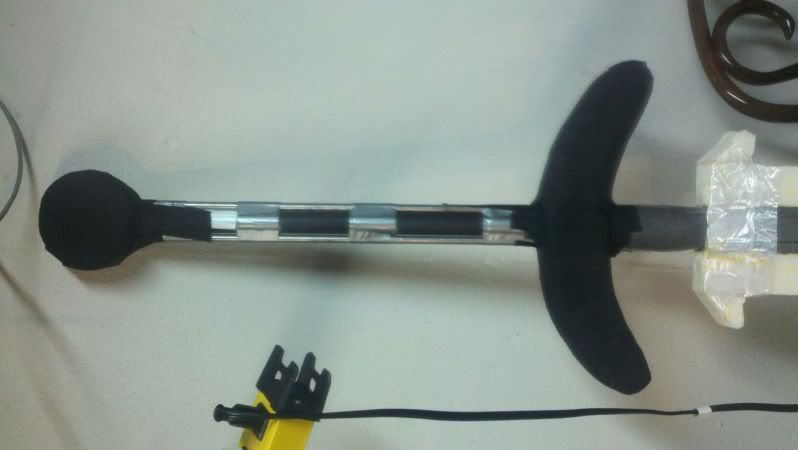
Step 4: We then began work on the cross guard, credit the idea to the forum post of Sieglatan using water hardened leather and string we laced, dapped and taped it to our cores. then covering it in blue foam and tape to solidify it even more.
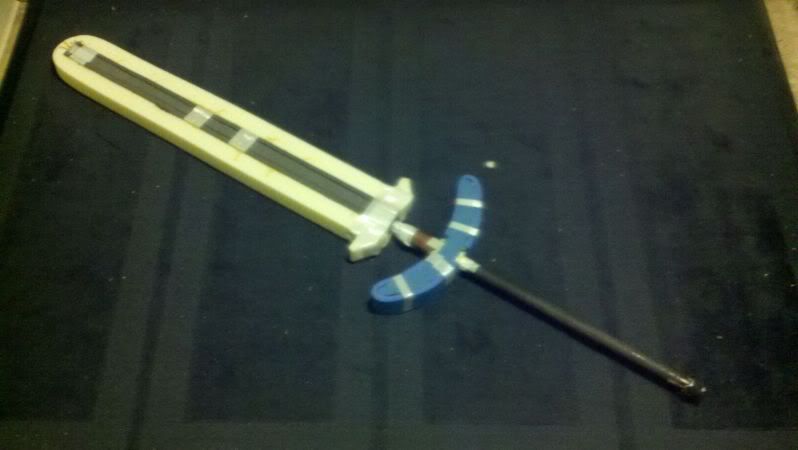
Step 5: We then made a stabby tip our of 2 layers of seat cushion dapped and strapping taped we just followed the building a stabby tip guide.
Step 6: Built a pommel ... Pretty simple build whatever design pommel your comfortable with I prefered a circle design and my friend Alsander chose an octagon design.
Step 7: We covered the cross guard and pommel with tough cloth tape.
Step 8: Using bar stock we attached it to the legnth of the handle using duct tape making sure it was secured tightly.
Step 9: We then took parachoute chord soaked it in water and wrapped it tightly down the handle.(sorry cant remember the size of the chord and the pictures are hard to see the chord since it is black) Between the barstock and the rope handle the balance point of the sword is absolutely perfect 2-3 inches above the cross guard!
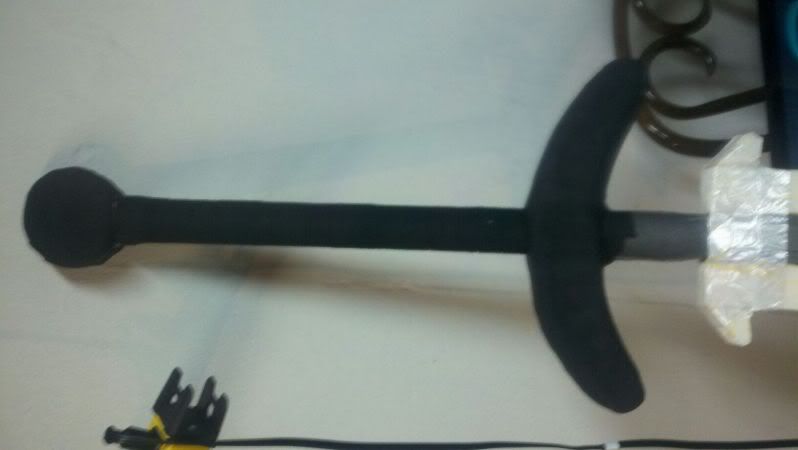
Step 10: We then made and sewed the covers and finished off the entire thing with some more cloth tape.
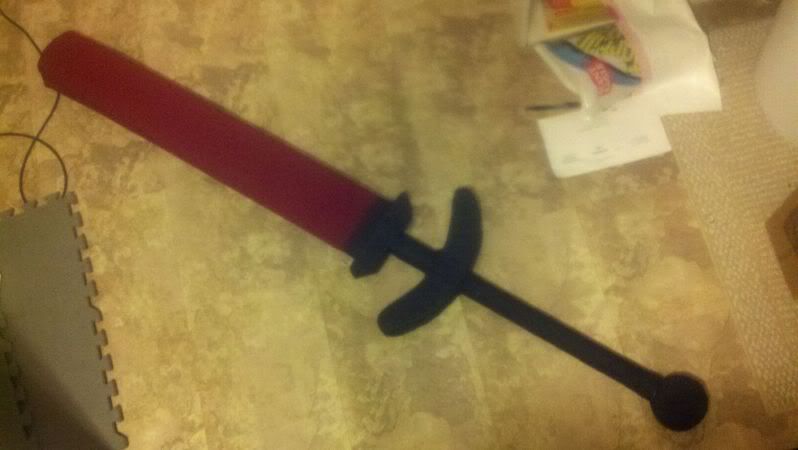
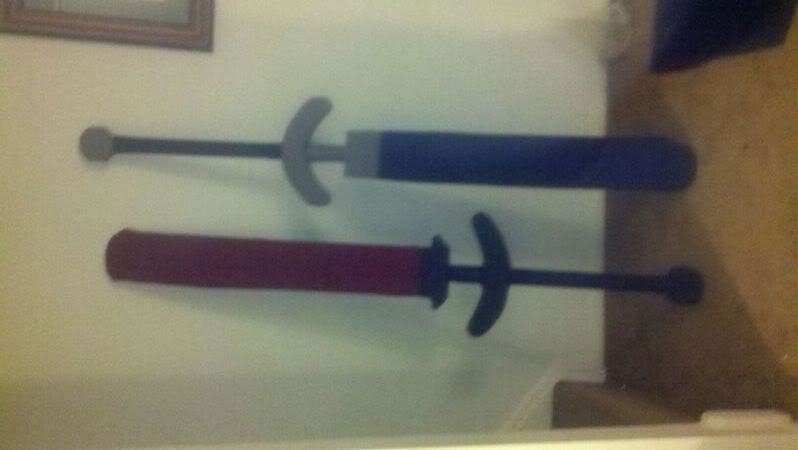
Finished product produced two very nice red swords thanks to the research of the belegarth boards. It was both me and Alsanders first attempts in years at building a red hope this will help condense some of the facts we found on the board.
Thanks goes out to Tiberius Claudius, Fork Beard, Bo1 among others with their intelligent and helpful posts.